Get to Know Virtual Agent Response Types: Selection
The category Selection offers two response types: Options and Prompt. Options allows an end-user to select one of the predefined input and Prompt allows end-users to compose their own input. Let's review each type.
Options
Options come in handy in guided conversations, where the user can go down one of the few selected tracks. Options are useful when you, let's say, want to know about the customer's interest in a product and there are only three products: A, B, and C. You can create three nodes for A, B, and C respectively and insert them as options in Configure Response.
Unlike other response types, Options can be added only once to a node. Sticking with our example, if A, B, and C are added to node X, then a user clicking any of those products exits node X and moves to the selected node.
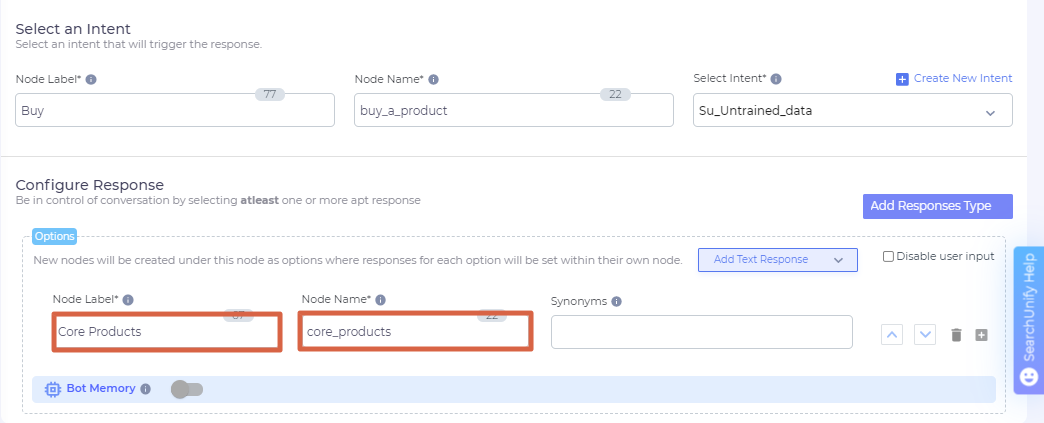
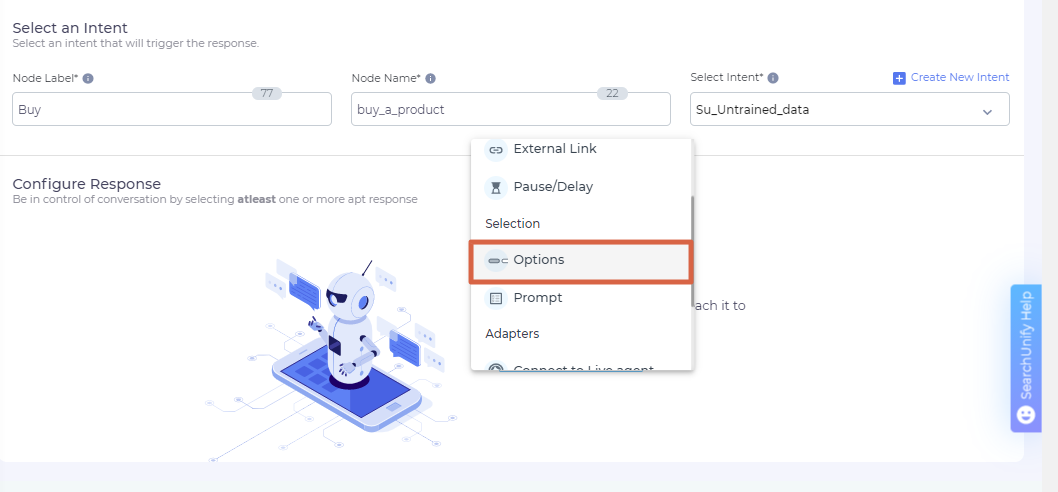
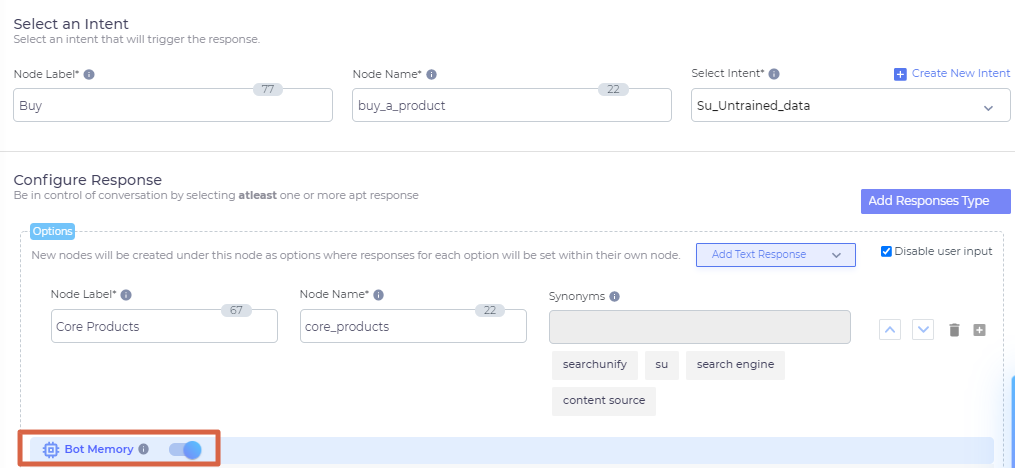
- Click Add Response Type and click Options in Selection.

- For the first option, enter Node Label and Node Name. If this option is selected, then the end user will be directed to the node whose Label and Name have been specified.
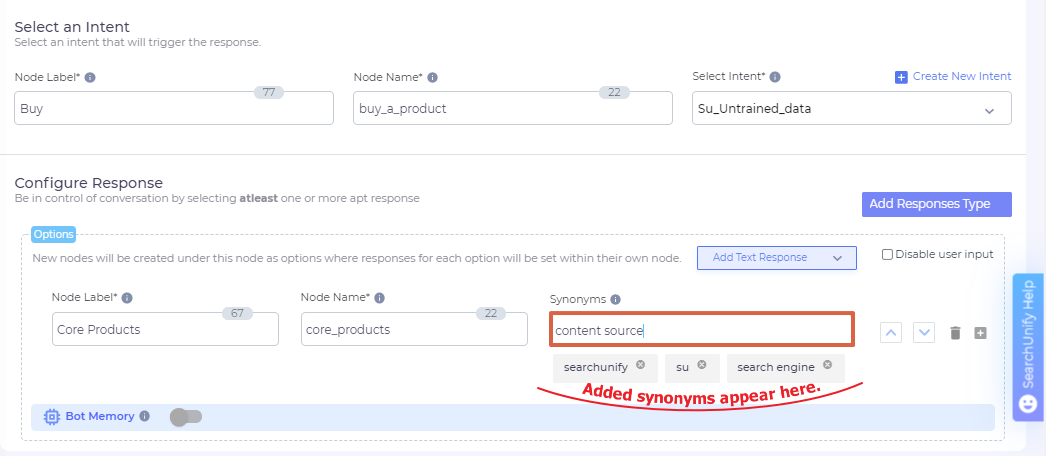
- Synonyms offer an alternative to selecting nodes. An Admin can type either the Node Label or its value in Synonyms and still be directed to the specified node.
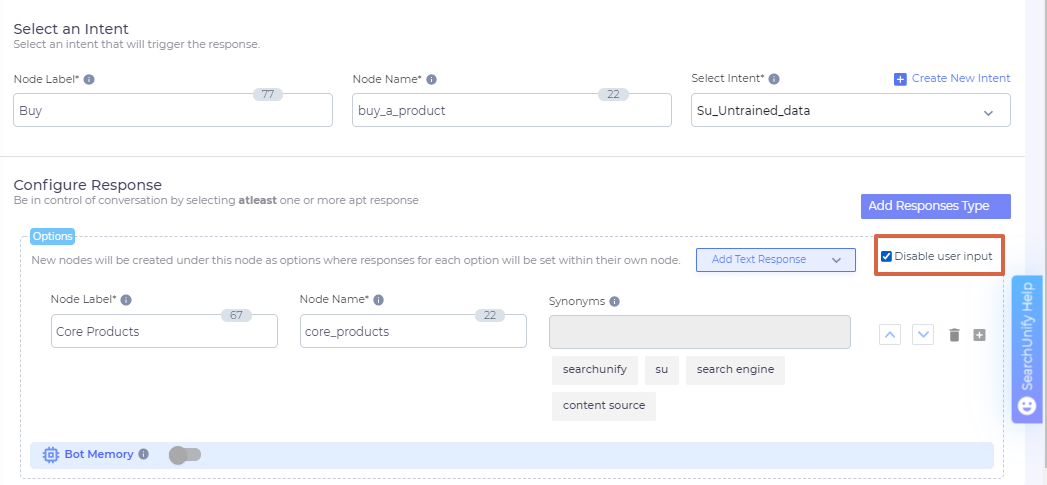
- Check Disable User If user input is disabled, the end-user cannot type and has to select one of the given options. Sticking to our example, the end-user can select A, B, or C but cannot type. It means that synonyms get disabled in this scenario.

- To use the selected option later, you can store it into memory. Toggle on Bot Memory to start. Bot Memory is a method to save user’s input for the option response. This can be saved in already existing entity or a new variable.

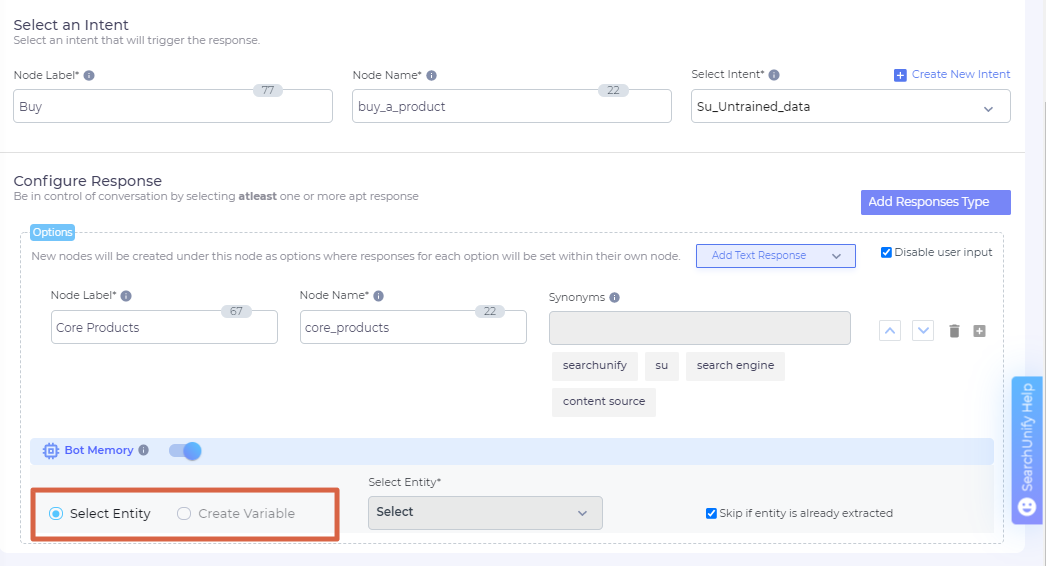
- When Bot Memory is toggled on, a new form appears where you can choose to connect the memory with an Entity or a Variable.

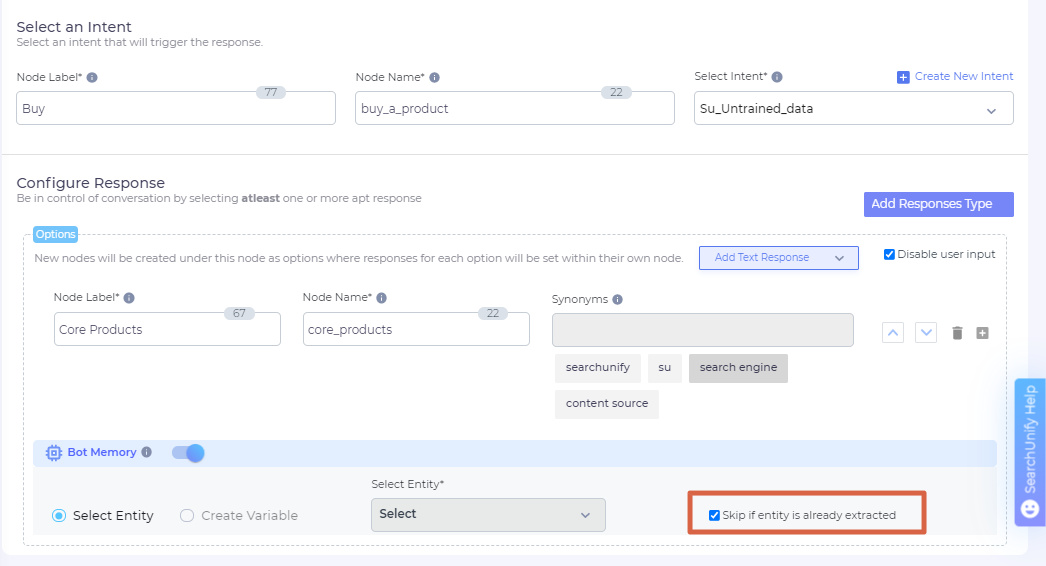
- Finally, you can check Skip if Entity Already Extracted. On checking, the Bot Memory isn't troubled when entity has already been discovered through previous messages from the end-user. In that case, Options responses are skipped if entity is already extracted from utterance or previous responses.


NOTE: If the system entity date is selected in bot memory then the end users should input (if text input is available) in the valid date format.
NOTE. Entities and variables are reset when the current chatbot story ends i.e. they are re-initialised every time a story is triggered.
Prompt
While Options guides a conversation by giving an end-user a choice between predefined paths, Prompt brings creativity to the fore. An end-user can type their way to a solution. The virtual agent automatically detects the entities in the end-user responses and replies accordingly. Bot memory is the same as options. Same entity cannot be used more than once for the prompts and options. If an entity is selected in bot memory then it is extracted from the prompt response. Otherwise the entire response is saved in variable. You can skip one or all prompts based on the entities extracted previously in the story.
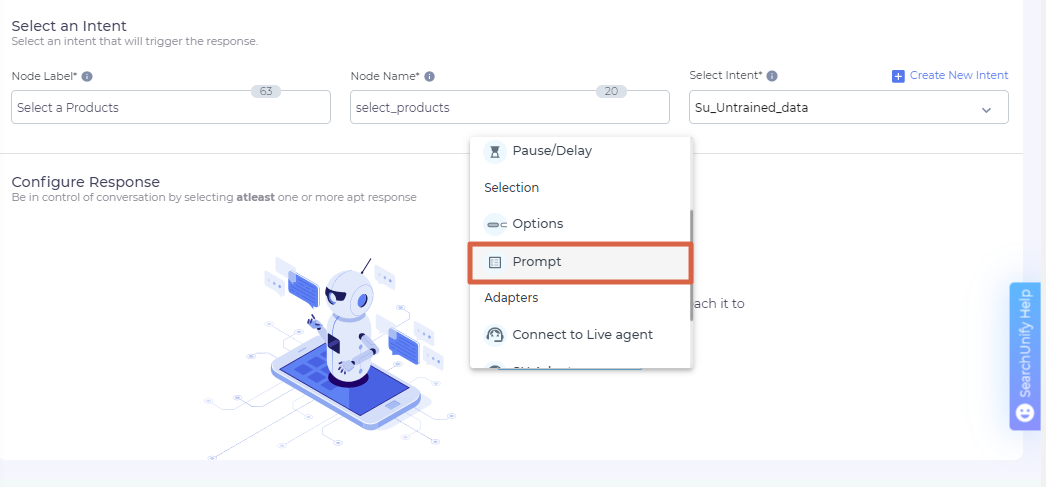
- To use Prompt as a response, click Add Response and select Prompt.

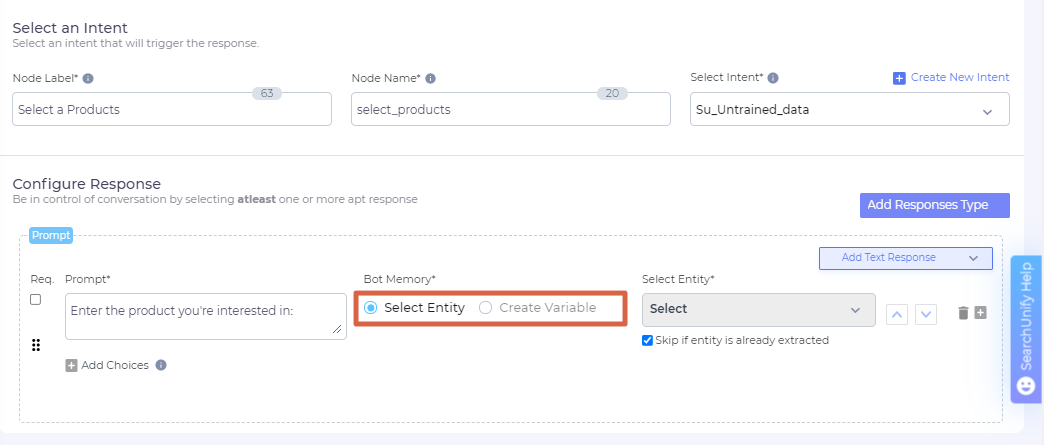
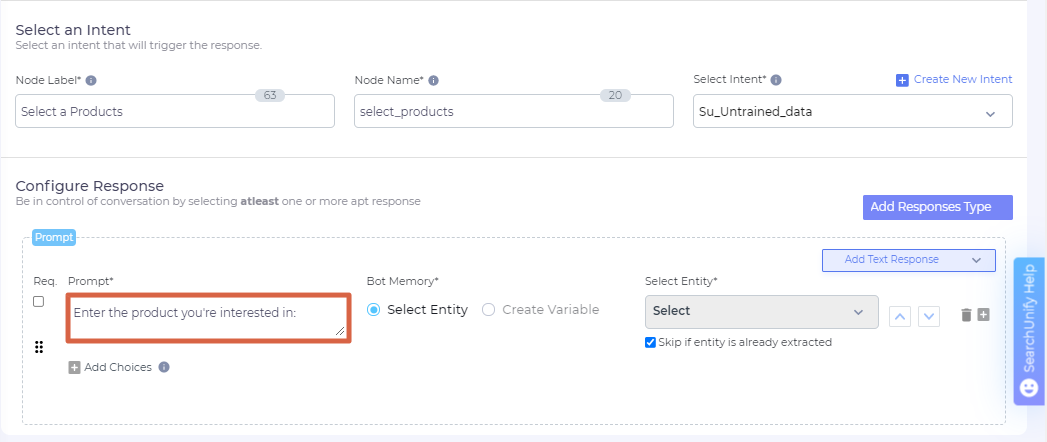
- In the Prompt field in Configure Response, write a message for the end-user, who can read the message and reply to it. The reply is going to be stored.

- Optionally, check Req. if you want the end user to answer. The conversation doesn't proceed until the end-user has answered to the prompt.
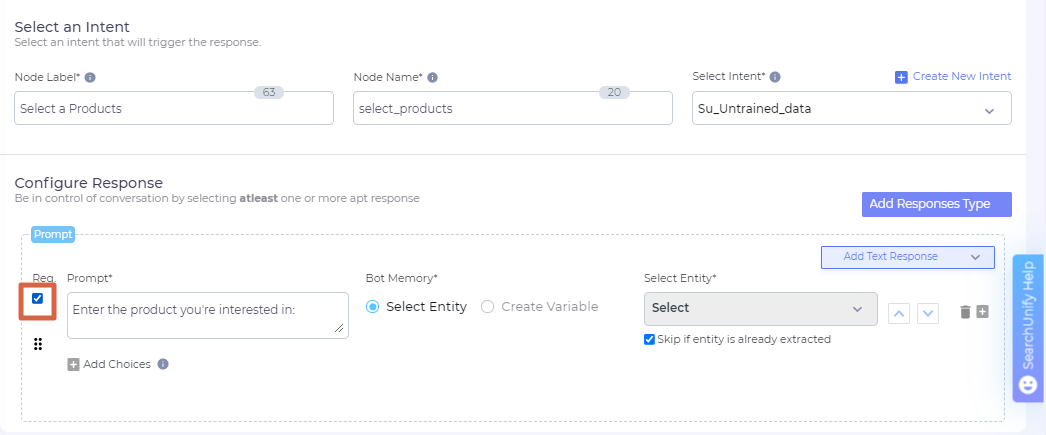
- You can store the end-user reply in Bot Memory either as an Entity or as a Variable.
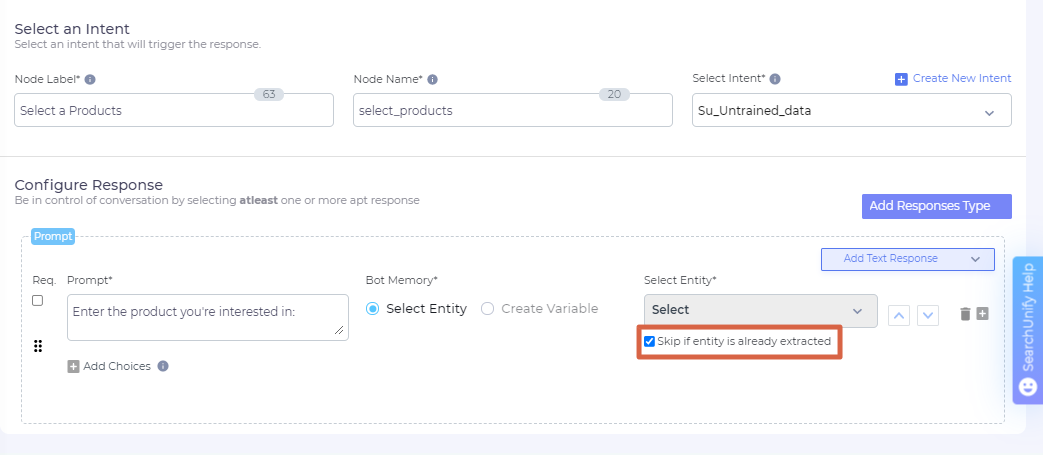
- If you check Skip if Entity Already Extracted. On checking, the Bot Memory isn't troubled when entity has already been discovered through previous messages from the end-user.


NOTE: An admin to add entity correctly and add as many synonyms as possible so that the bot can easily extract them. Any value of the entity not available is not detected by the bot e.g. location entity has values only Tokyo and London then bot does not identify if the user enters the location as Moscow.
Add or Delete a Response on a Node
An admin can insert multiple responses into a node. When business requirements change, the admin can add or delete a response. To add a response to an existing node, click Add a Response and remove an existing response, click ![]() . The function is at the extreme right of each response.
. The function is at the extreme right of each response.
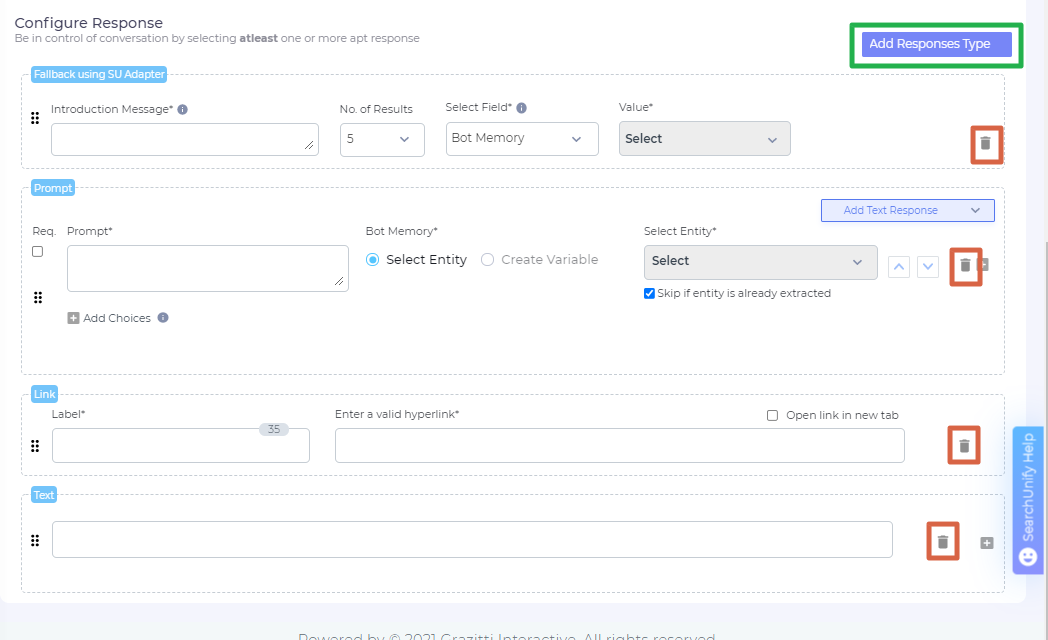
Once you have made the changes, scroll up and Save them.

Change Response Order
A node can house two or more responses. In the default set-up, the latest response ends up on top. But you can change the default order. Use ![]() to drag responses up and down.
to drag responses up and down.
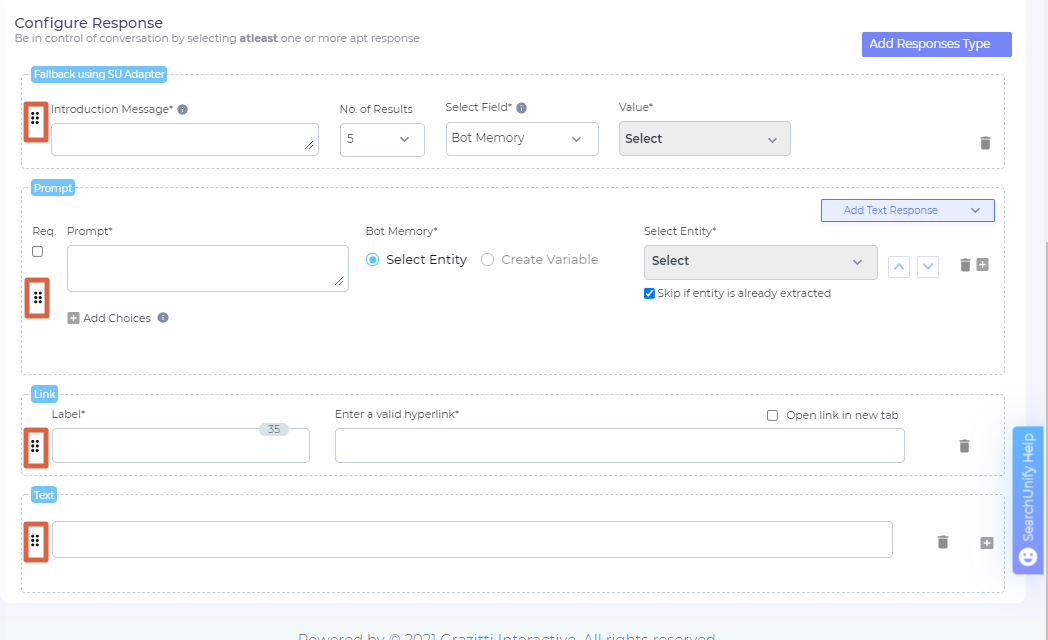
Once you have made the changes, scroll up and Save them.