Get to Know SUVA Response Types: Adapters
Adapters offers four options; Create Case, Create Discussion, Connect to Live Agent, and SearchUnify Adapter. Create Case can be set up to allow end users to create a case if a satisfactory resolution is not found. It can be set up for Salesforce. A user can start a discussion in Khoros using the Create Discussion functionality.
Connect to Live Agent can be set up on Salesforce and Zendesk. It allows end-users to communicate with support reps straight from the virtual agent chat window. On Khoros, an end-user can start a discussion on the community.
Create Case
It allows end users to create a case when they couldn't find a satisfactory answer/resolution to their queries.
1. Click Add Response Type and select Create Case.
2. Two fields–Subject and Description–appear on your screen.

These two fields will be shown as a prompt. Enter a message that will be shown to a chat user for case subject and case description in the respective fields.
Upon receiving an input from the user for the prompt, a case will be created into your Salesforce instance.
Create Discussion
For Khoros agent, this allows end users to create a discussion when they couldn't find a satisfactory answer to their queries.
1. Click Add Response Type and select Create Discussion.
2. For the Board field, select from the list of system entities and memory variables, or customer entities that are set as Bot memory in any node in the current story only. It is optional though.
3. Two fields, Subject and Description, appear on your screen.

These two fields will be shown as a prompt. Enter a message that will be shown to a chat user for discussion subject and discussion description in the respective fields.
Upon receiving an input from the user for the prompt, a discussion will be logged on your Khoros board.
Connect to Live Agent
Connect to Live Agent allows an end user to connect with an agent in your support team through the virtual agent chat window. Using this response type makes sense where queries are complex for artificial intelligence or need an emphatic human touch.
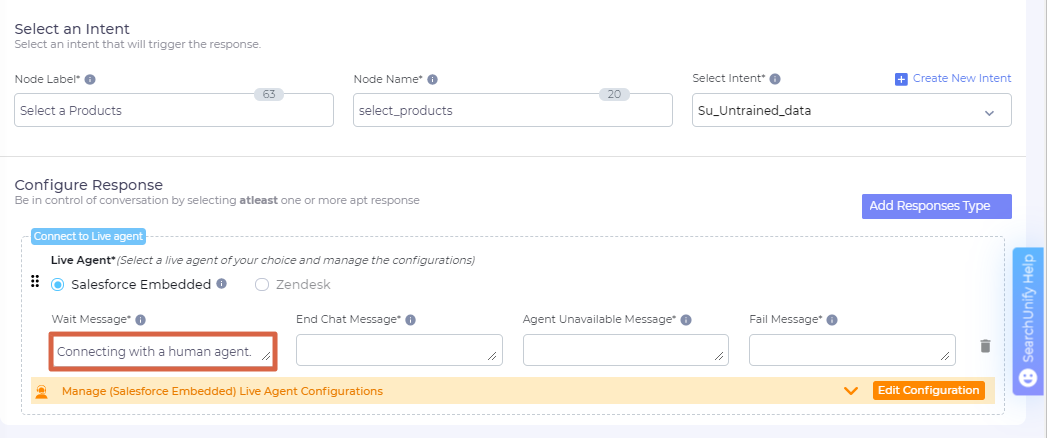
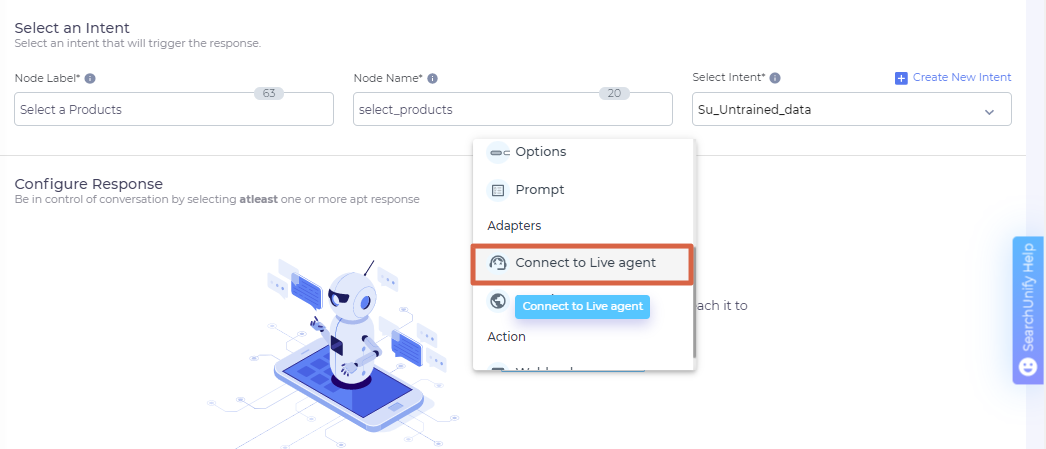
- Click Add Response Type and select Connect to Live Agent.

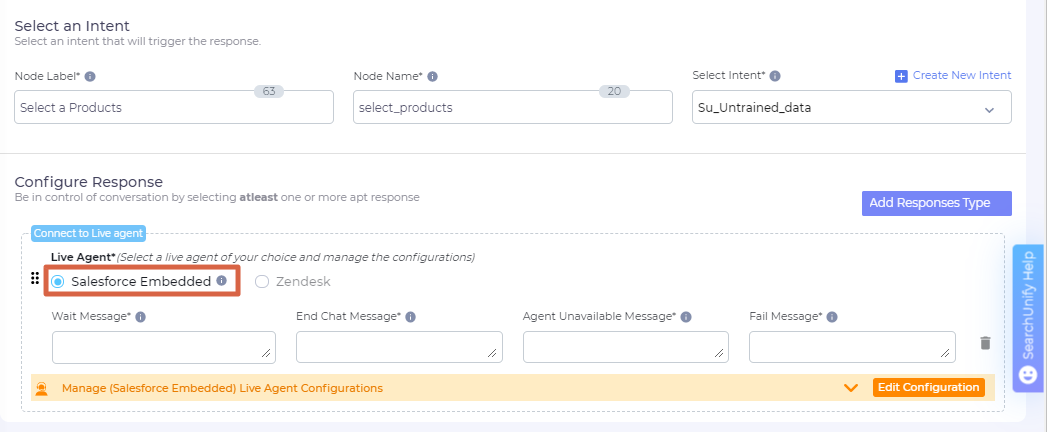
- If your support team uses, Zendesk or if your search client is connected to a Website search client, check Zendesk. In all other scenarios, click Salesforce Embedded.

- Next, in Wait Message, enter the text the end user will see while the virtual agent is making a connection with the selected adapter.
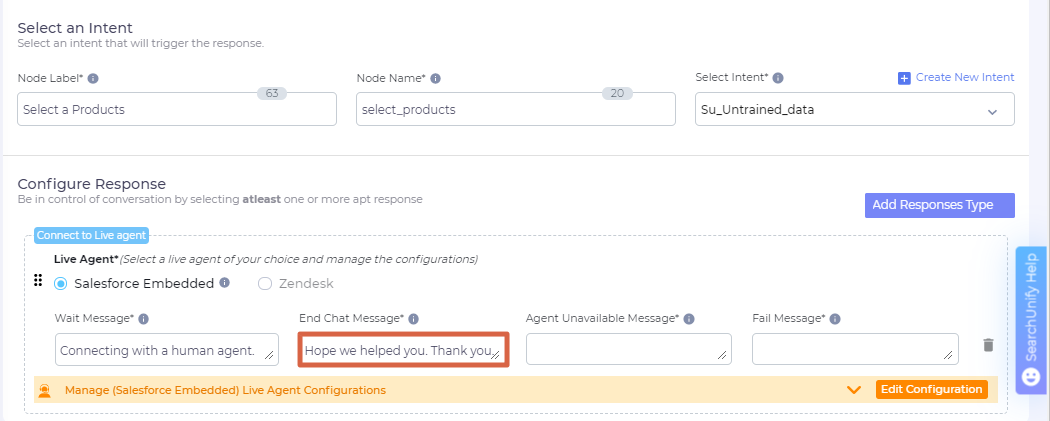
- To avoid an abrupt end to a conversation, in End Chat Message, enter the text that the end user will see after they have conversed with a support rep.
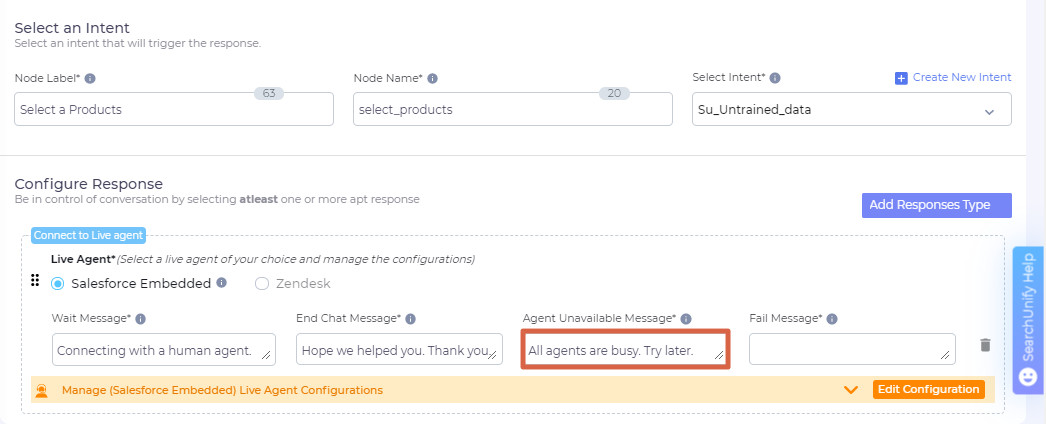
- Write a contingency message for those occasions when a support rep is busy. The text goes into Agent Unavailable Message.

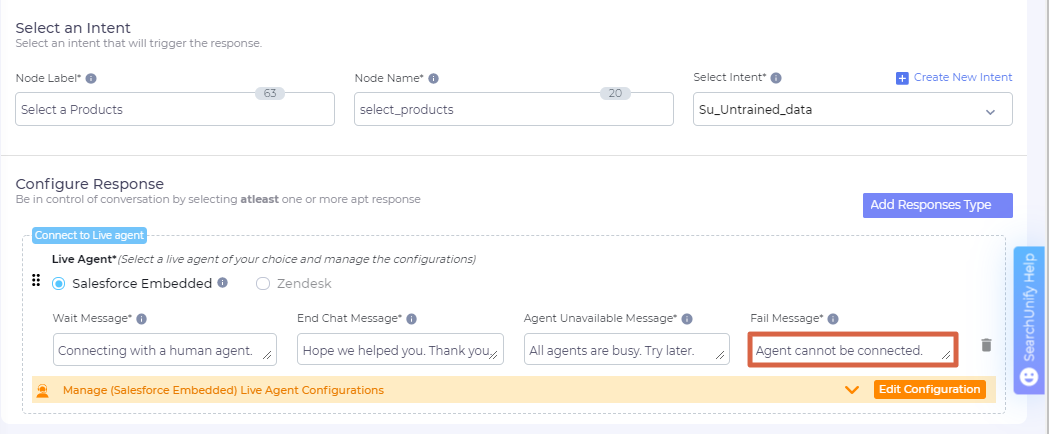
- To cover scenarios when a agent cannot be connected for any reason, write a message in Fail Message.

- Expand Manage Live Agent Configurations.
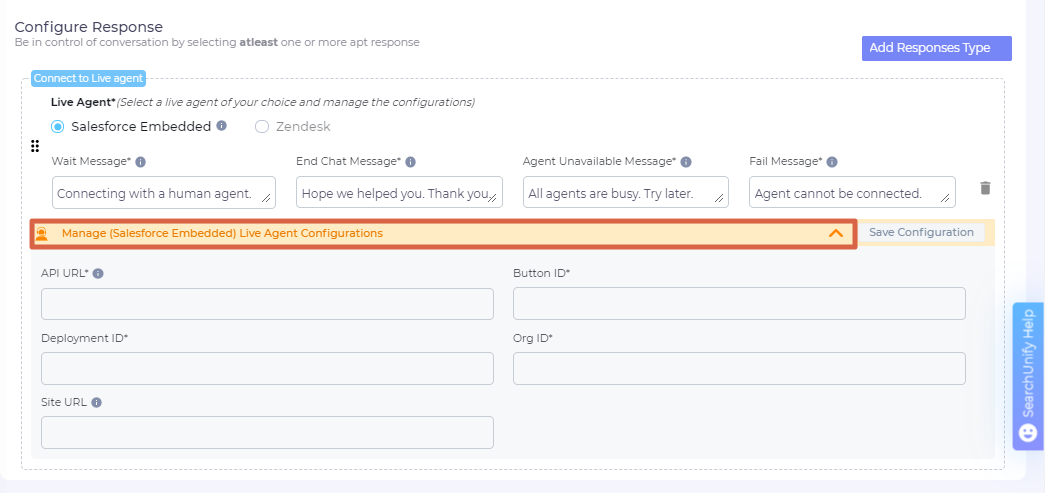
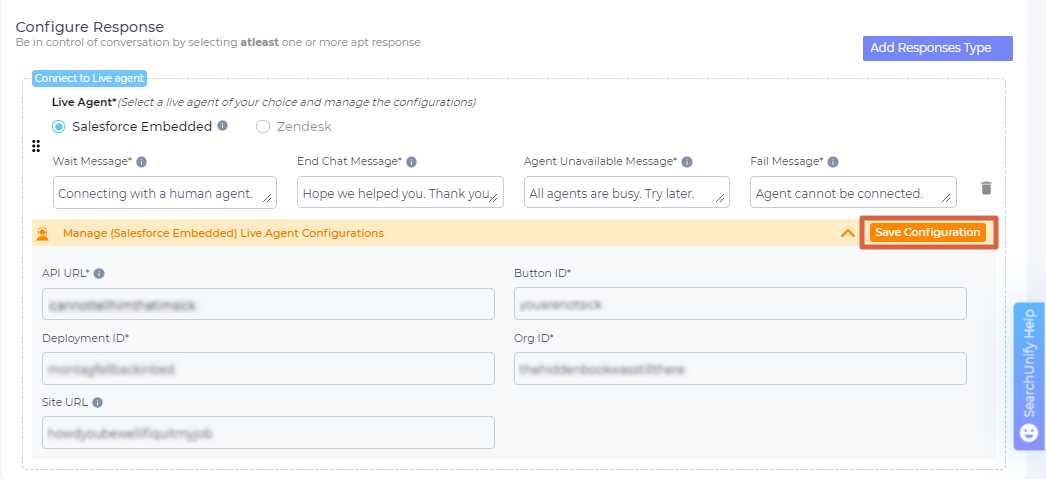
- In API URL, enter the endpoint of the support agent. Then proceed to fill Button ID, Deployment ID, Org ID, and Site URL. The Site URL is webpage where APEX classes are hosted. The information to fill other fields can be obtained from Get Chat Settings for Your Org.

- Click Save Configurations.


NOTE.
Purchase a separate license to connect Zendesk with an SearchUnify Adapter.
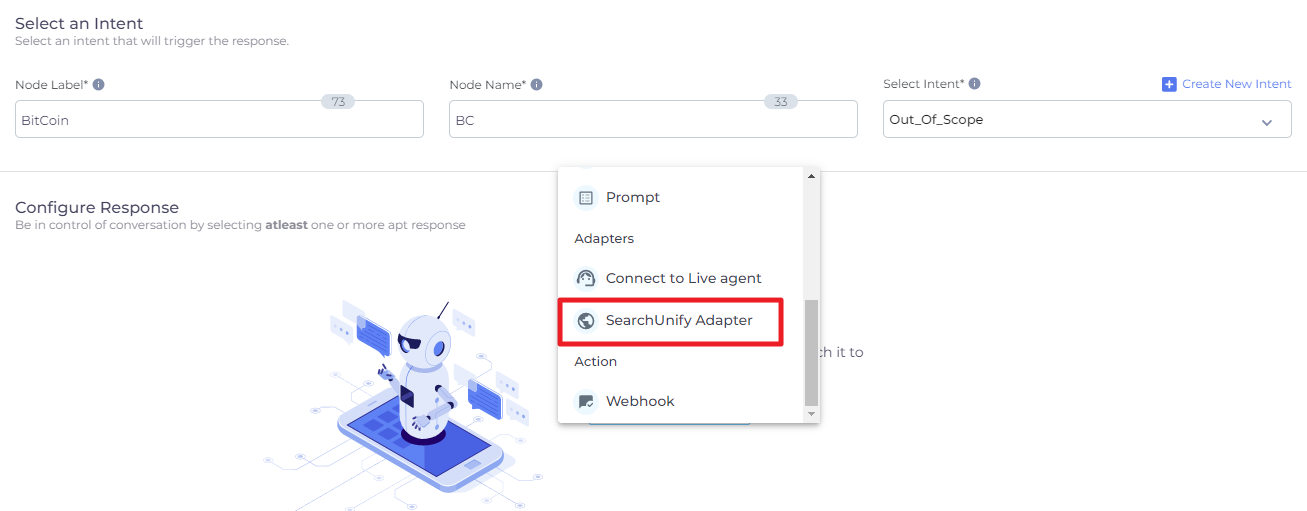
SearchUnify Adapter
When all else fails, SearchUnify Adapter can be invoked to save the day and achieve fallback from Bot Memory and/or last User Input, transforms the input into a search query, and returns between one and 10 relevant results followed by an introduction message, such as "Here are the top related results:". The exact number of results returned is configurable, but the default is set at five.
When input is empty, SearchUnify Adapter works on the latest response received, which can be latest selected option or prompt response.
- Click Add Response Type and select SearchUnify Adapter.
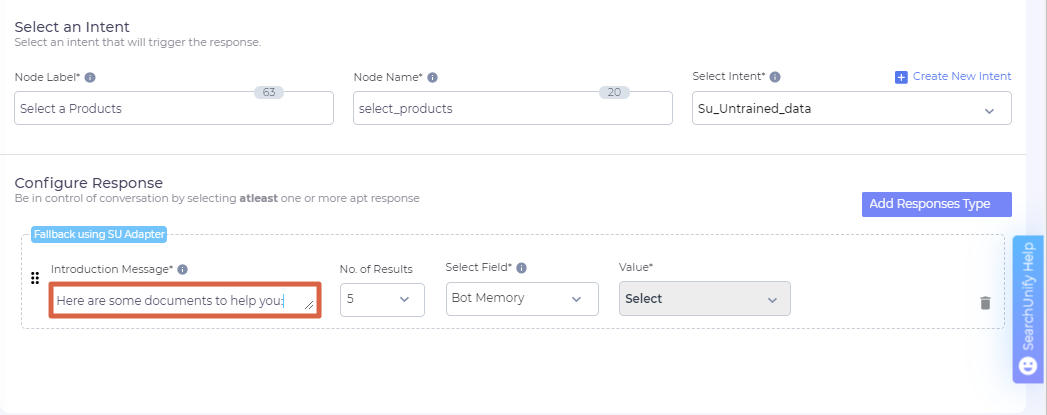
- Write a text to accompany the search results in Introduction Message.

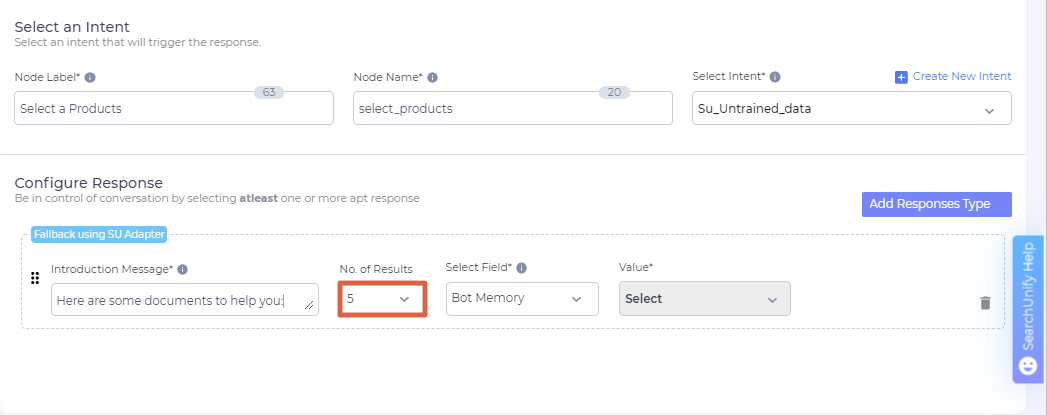
- Configure the total results to be displayed in No. of Results.

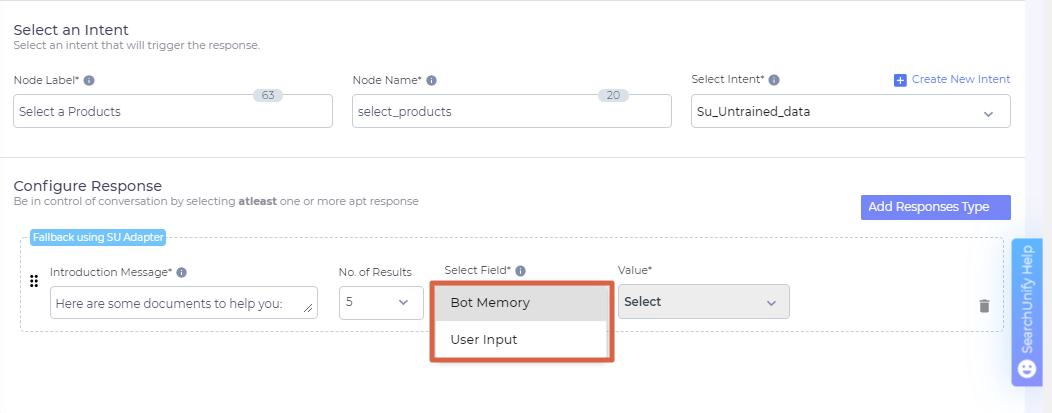
- From Select Field, pick the value to be used as query. It can either be Bot Memory or User Input.


As with other configurations, SearchUnify Adapter fallback can be deleted. In case, multiple fallback are used, admins can set up their order.
Add or Delete a Response on a Node
An admin can insert multiple responses into a node. When business requirements change, the admin can add or delete a response. To add a response to an existing node, click Add a Response and remove an existing response, click ![]() . The function is at the extreme right of each response.
. The function is at the extreme right of each response.
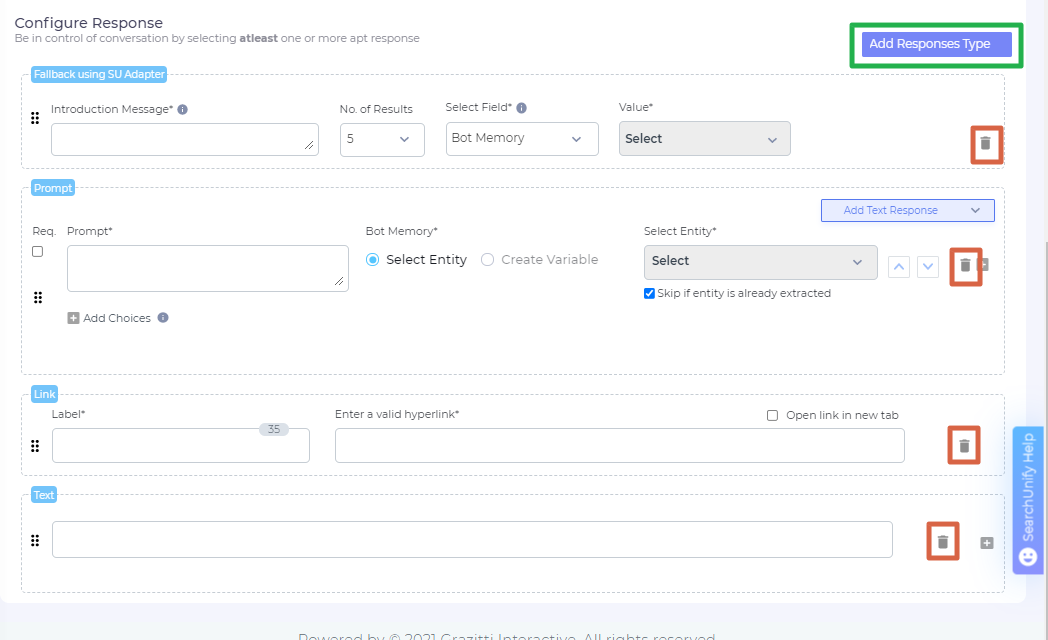
Once you have made the changes, scroll up and Save them.

Change Response Order
A node can house two or more responses. In the default set-up, the latest response ends up on top. But you can change the default order. Use ![]() to drag responses up and down.
to drag responses up and down.
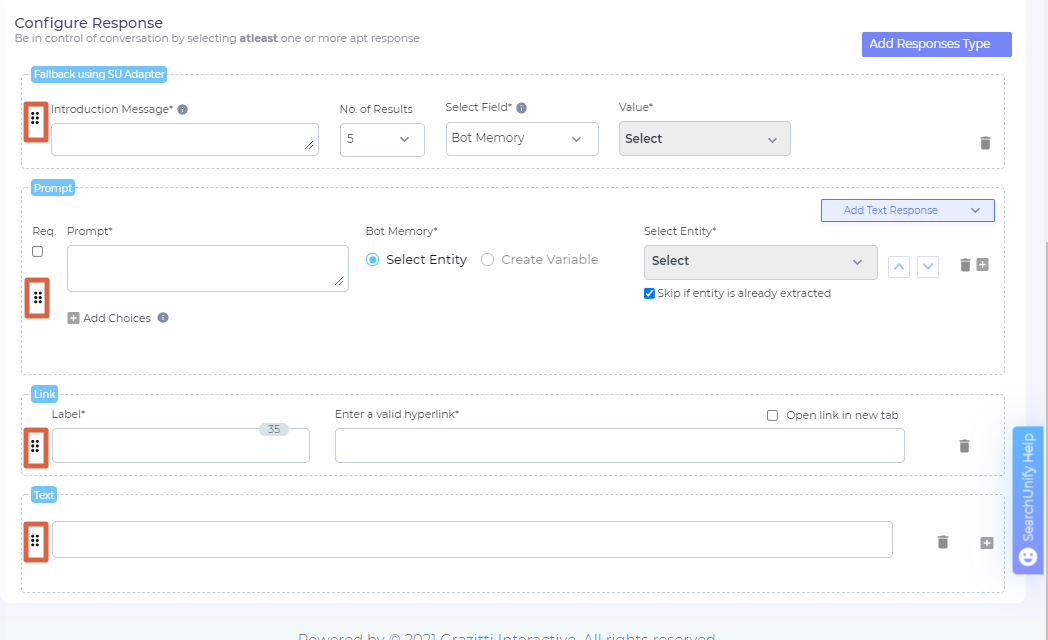
Once you have made the changes, scroll up and Save them.