Setting Up Large Language Model (LLM) Integration in SUVA
Large Language Model (LLM) integration allows users to unleash the true potential of interactive chatbots. The admins can connect SUVA agents with LLM tools such as OpenAI. Integration with Hugging Face is available on demand (Connect with your CSM to activate it). Work on integration with other LLM products, including Google’s Bard, is already underway.
Integrating SUVA Agents with LLM Tools
-
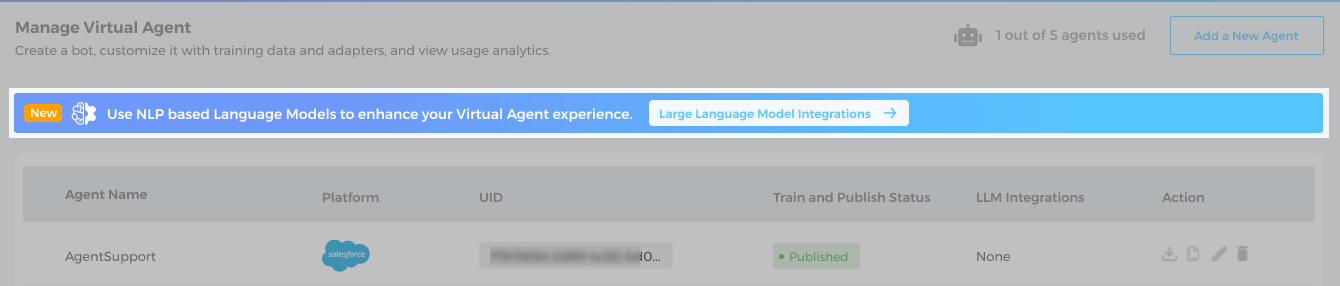
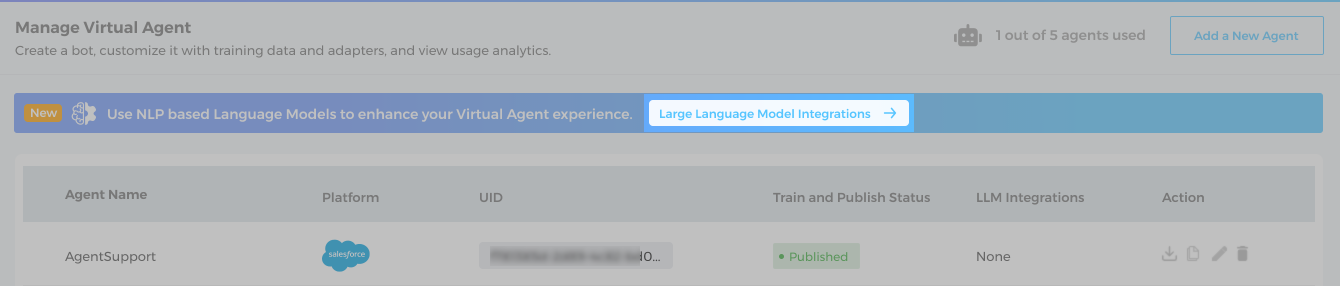
Upon logging into your SUVA instance, you will see the LLM integration strip at the top on the Manage Virtual Agent screen.

-
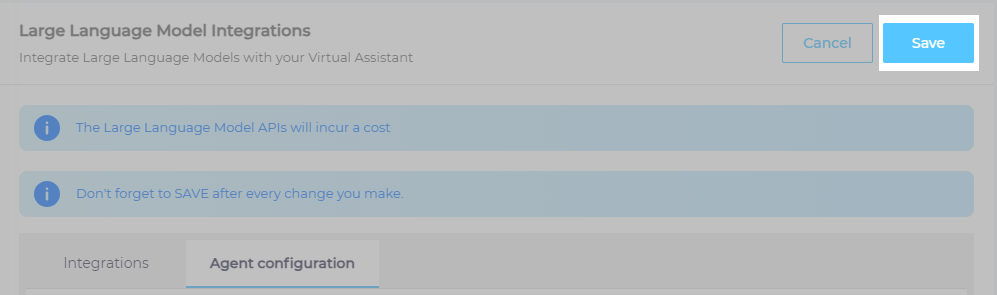
Click Large Language Model Integrations.

-
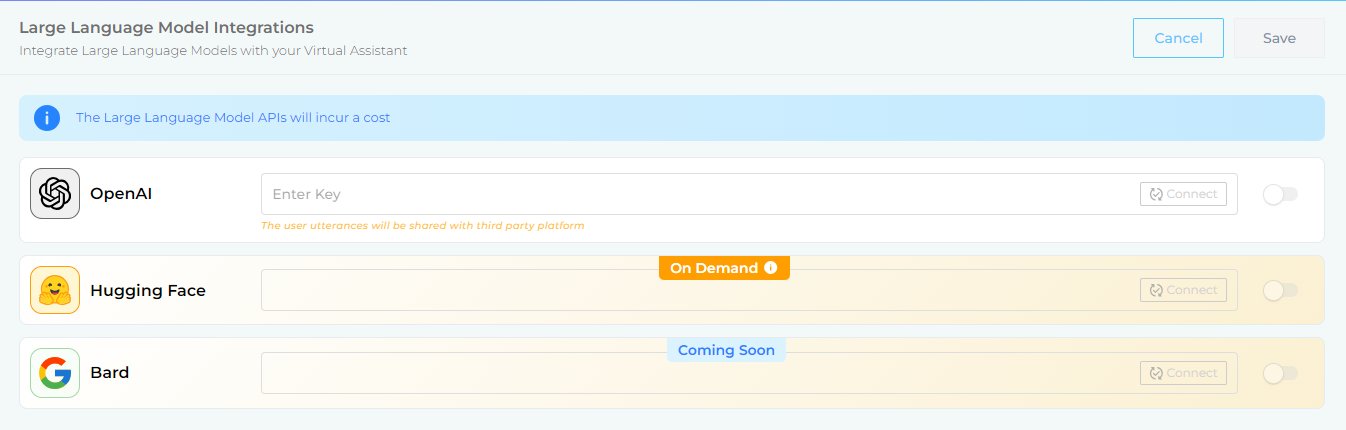
You will see a list of LLMs. OpenAI is supported, Hugging Face is available on demand, and Bard will be available in the future releases.
-
Enter the authentication key to complete integration. Click Connect.

Refer to the following doc to get the authentication key for Open AI and Hugging Face:
-
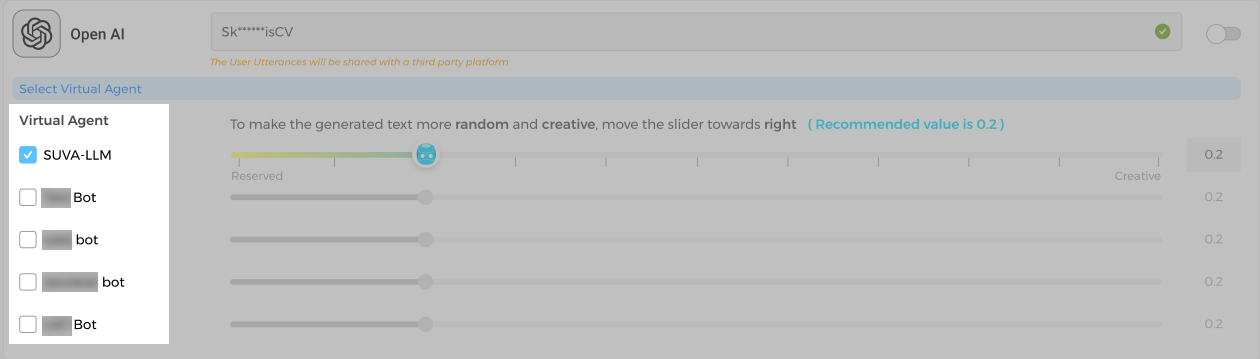
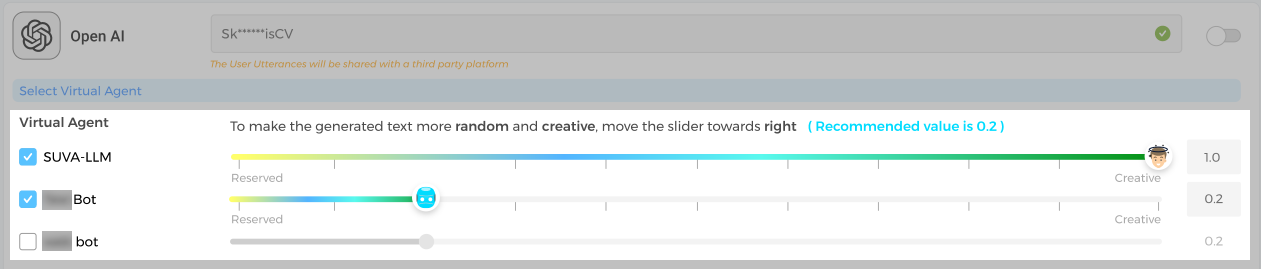
If the integration is successful, you will see the list of configured virtual agents.

Note. Virtual Agent(s), linked to one of the LLM integration tools (OpenAI or Hugging Face), can't be linked to another LLM integration tool. For example, if you have linked a Virtual Agent to OpenAI, the same agent cannot be linked to Hugging Face.
-
Check the virtual agent(s) with which you want to use LLM integration and set the temperature from the range 0-1. The recommended value for the scale is 0.2.
Refer to How Temperature Setting Impacts Chatbot Responses to know more about temperature setting.

Note. 0.2 may not be the ideal temperature for LLM integration. The ideal temperature for LLM integration depends on the specific application. However, it is a good starting point. You can then adjust the temperature up or down to get the results.
-
Toggle on to activate the integration. Click Activate when you get the confirmation message.

-
Save your settings. If you skip this step, then integration will not work.


Once you have saved your settings, the process is complete. You can now see the LLM integration configured with a virtual agent.

The setup is done and the usage is covered in LLM Integration Usage.
Editing the LLM Integration
1. Changing Virtual Agents inked with LLM Integration
You can change the Virtual Agent, linked to the LLM integration, any time. Check one or more Virtual Agents for the LLM integration. Set the temperature for the selected Virtual Agent(s) and Save the settings.
2. Replacing the Authentication Key
Use the edit icon to replace the authentication key.

Note. The current integration gets disabled if the authentication key changes. Reconnect with the new authentication key and Activate the integration. The selected Virtual Agent(s) and the temperature setting remains unaffected.
While changing the key, enter the correct key. If the authentication key is invalid and the configuration tab is closed or the settings with an invalid authentication key are saved, then the app continues to function based on the previous key.